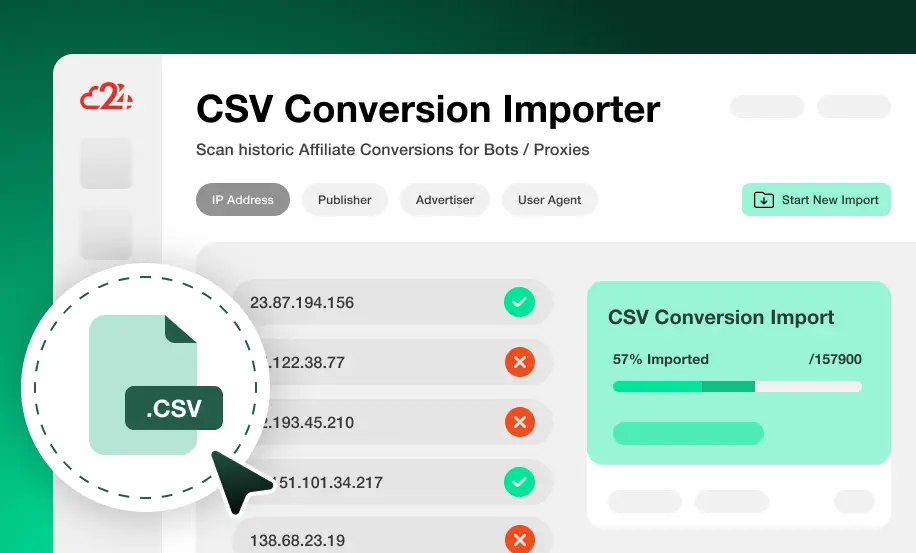

A Simple CSV Importer in our UI
If you’ve been running Lead Gen or Mobile App Install campaigns for a while, you know that sooner or later an advertiser will call and question the traffic quality. Maybe they’ve spotted suspicious patterns, or conversion rates aren’t matching expectations — and suddenly you need to investigate fast.
The challenge: you didn’t have a fraud prevention system in place at the time, or you only want to re-scan historic data to validate the results. Doing this manually can be painful, slow, and error-prone. That’s exactly why we built our CSV Importer — to give you a fast, flexible, and self-serve way to run your own analyses without complex setup.
With our CSV Importer, you can easily upload past conversion data and instantly apply our fraud analysis engine to uncover issues, compare different filter settings, and understand what really happened. It’s designed to save you hours of spreadsheet work and provide clear, actionable insights in minutes.
Here are some of the most common use cases our customers rely on the CSV Importer for:
✅ Testing Different Filter Settings
Compare results using multiple fraud rules or stricter thresholds to see how detection changes. Great for fine-tuning settings before applying them to live traffic.
⚡️ Ad-hoc Conversion Scanning
Need a one-off check on a batch of conversions flagged by an advertiser or partner? Quickly upload the data and get instant fraud scoring and insights.
📊 Historic Data Analysis
Re-evaluate months of past conversions to understand performance trends, quality issues, and fraud rates over time — even if fraud scanning wasn’t active during the original campaign.
In short: If you need to validate quality, investigate irregular activity, or run what-if scenarios on older data, our CSV Importer makes the entire process simple and fast.
1. Export your Data from your Platform
Whether you use an Affiliate or a MMP Platform all platforms allow the export of conversion data. Ensure that you include the full data of the Offer, Traffic Source, Conversion IP and the User Agent in your export. Additionally you may want to export Session Time (Click to Conversion time) and the referer URL for additional checks.
Important Note: The IP Address must be visible in full and cannot be truncated or shorted (e.g. 88.21.2.xxx).
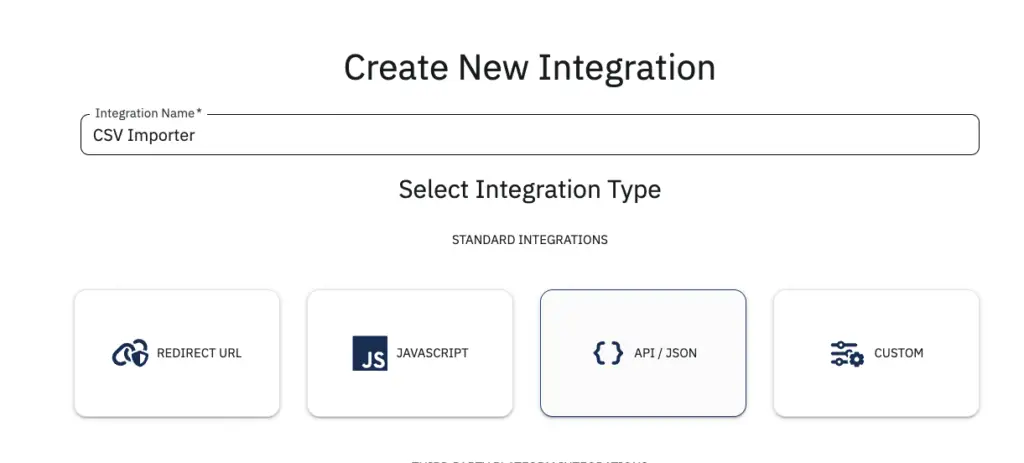
2. Create a CSV Import Integration
As a next step we need to create a new integration, dedicated to the CSV Import. We are doing this to keep existing integration data clean. The added advantage is also that this allows us later to run a custom filter that settings that may be stricter than the regular settings that apply. Select the API / Json Integration. You can name the integration anything you like but we recommend to give it a descriptive name like “CSV Import”. This integration can be later be reused for additional file imports.
3. Configure you filter groups.
Before running the Import we must ensure that all the filters are configured correctly. The CSV Import Integration has its own independent filters. So we can apply stricter settings while not affecting the live checks on our incoming conversions. To do this go to Filter Groups in the navigation menu, select the integration for the Import (e.g. CSV Import) and configure the Conversion Filters.
We recommend to always enable Bots, VPN / Proxy and Duplicate Checks as they are they standard filters. For easier configuration you can use our Preset configuration like Lead Gen or Mobile CPI.

4. Run the Import
Now you can run the Import. Upload the file, start the import, wait a few seconds and you will the the data imported in your reports. Very large files naturally take a bit longer but you can always see the progress on the top. We support up to 1 Mio Rows to be imported at a time.
Watch the full Video
Click on the Video below to see how this is done from start to finish without any coding and just in a few minutes.
Check a specific IP Address For Bots / Proxies
Enter an IP address to scan: